How to Repair Garden Hoses, Nozzles, and Drip Irrigation (Instead of Replacing Them)
It’s easy to toss a broken nozzle or a leaking hose and buy a new one, but with a few common tools and inexpensive supplies, you can repair typical gardening issues. Not only does this save money, but it also reduces plastic waste and extends the life of your existing equipment.
In this article, we cover common issues around garden hoses, nozzles, and drip irrigation. We walk through how to troubleshoot and repair your equipment. If you have to replace your equipment, we provide guidance on selecting durable options.
General repair tips
Before jumping into specific issues, here are a few general repair tips to keep in mind:
- 🎓 If you’re trying these repairs for the first time, consider this a learning experience. Even if you’re not successful, you’ll at least have a better idea of how these parts work.
- 👀 Inspect the item for holes, cracks, brittleness, or other damage. The severity of these defects might make the item not worth repairing.
- 📸 As you disassemble items, take photos of each step so you have something to reference if you get stuck.
- 👓 Wear safety gear, such as gloves or eye protection, when making repairs.
- 🛍️ Replacement parts can be purchased at your local hardware or garden center or online.
- 💪 Select the more durable replacement parts that you can afford. Metal parts are usually sturdier than plastic, but could cost slightly more.
- 👋 Avoid overtightening parts as you reassemble them. Hand-tightening is usually enough.
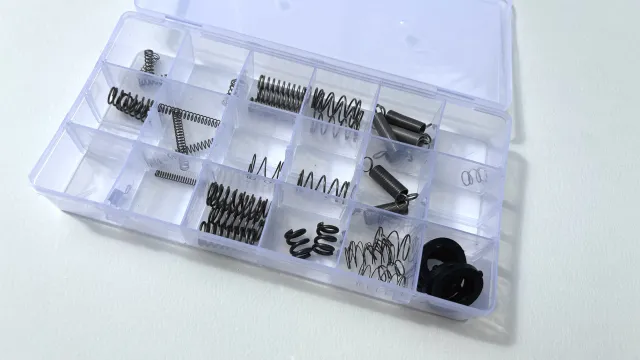
- 🧰 Consider using an old tacklebox or container to store spare hose and nozzle parts. Some issues are common, and it’s nice to have your essentials in one place. Store extra parts in a cool, dry place.
Garden hose repair: leaking hoses
A garden hose leak might not seem like a big deal at first. However, over time, it can waste a lot of water and spray you every time you turn it on. Many hose leaks are easy to repair, so you don’t have to buy a new hose.
Troubleshooting a leaking hose
- Inspect the hose’s condition. Look for worn-out, cracked, or brittle areas. Hoses in poor condition should be replaced.
- If you have several leaks, check to see how close they are. If they are near each other, the hose might be worth repairing. Fixing the hose involves removing the portion of the hose with the leaks and connecting the good parts together. If the leaks are too far apart, this could drastically shorten the length of your hose, and it may no longer meet your needs.
How to fix a garden hose leak
- Time: 5-10 minutes
- Skill level: Beginner
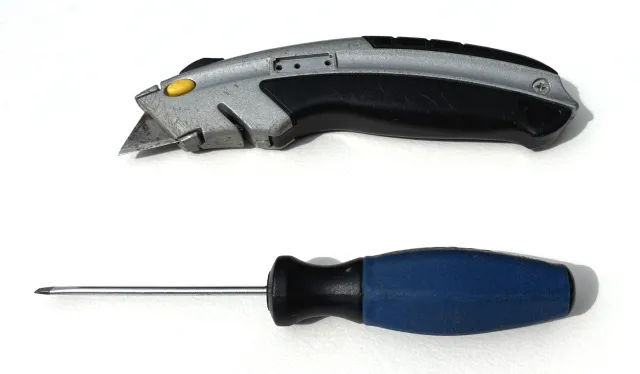
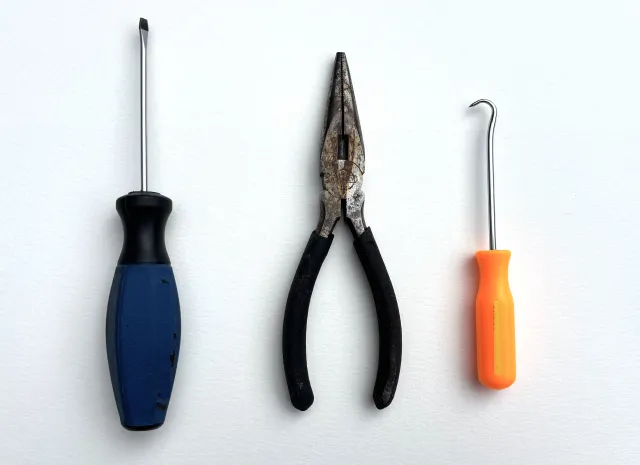
- Tools: Utility knife or box cutter, screwdriver
- Supplies: Garden hose mender fittings (About $5, depending on plastic or metal versions. Search online for “garden hose mender.”)
Steps to fix the leak:
- With the utility knife or box cutter, cut the hose before and after the leaking area.
- Unscrew the clamps from the fitting, then insert the fitting into one end of the hose. With the fitting inserted, attach the clamp to the hose to secure the fitting.
- Insert the fitting into the other section of the hose and attach the clamp.
- Connect the hose to your water spigot and turn the water on. If done right, the area with the fitting shouldn’t be leaking.
Pro tips for the repair
- If the fitting is difficult to insert, warm the hose in the sun, run it under warm water, or add soapy warm water to the fitting.
- If the end of your hose is damaged, you can cut the end of the hose off instead of just cutting out the damaged part. They make mender fittings for the two types of hose ends—just make sure you buy the correct replacement.
- Consider purchasing the metal version of the repair fitting because they’re more durable and will last longer than their plastic counterparts.
- It’s tempting to use duct tape or a waterproof tape to repair your leaks. These can work as temporary solutions. However, your hose’s water pressure is pretty strong, and outside temperatures can soften the tape adhesive, so you’ll eventually need to repair it.
If you have to replace your garden hose
There are several options for garden hoses, which can feel overwhelming. Here are some factors to consider when purchasing a new hose:
- Look for ones made of rubber, which are more durable than ones made of vinyl.
- Choose ones with brass fittings on the end, because they are less likely to get crushed.
- Select a hose that is the appropriate length for your yard. Longer hoses can reduce water pressure, are heavier, and are prone to tangling.
- Purchase a hose that meets your needs.
- Are you frequently using your hose or using it under rough conditions? You might want a heavy-duty hose.
- Do you have a balcony garden? You might only need a shorter, lightweight hose.
- Would your hose be in a high-traffic area? Consider an expanding hose, which shrinks when not in use and can be tucked away easily.
- While some lightweight hoses are not as durable, they might be your best option when prioritizing safety, comfort, and convenience.
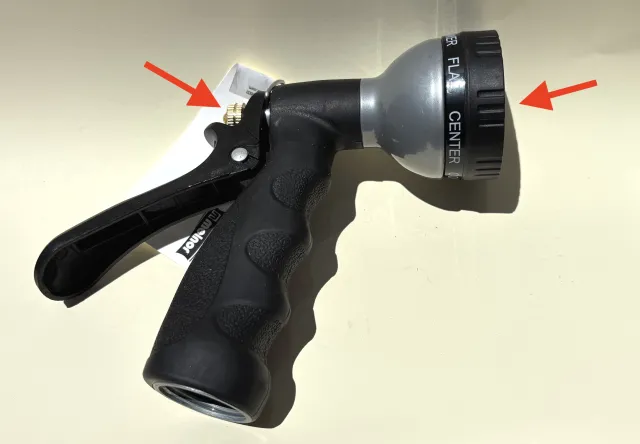
Garden nozzle repair: stuck trigger
Over time, the nozzle’s trigger can stick, jam, or fail to spring back after use. This is often caused by dirt, mineral deposits, or rusted internal parts.
Troubleshooting the nozzle
- Inspect the nozzle body for cracks or warping—if you find either, consider replacing the nozzle.
- Disassemble the trigger mechanism. This varies depending on your nozzle type, but generally, this includes unscrewing the knob in the back until it comes off. Inspect the parts for dirt, mineral buildup, rust, etc. Rinse the parts, dry them off, spray them with a silicone lubricant, and reassemble. Test the trigger to see if it can move again.
- If the spring is rusted, you can replace the spring and reassemble the nozzle.
How to replace the trigger spring
- Time: 10-15 minutes
- Skill level: Advanced
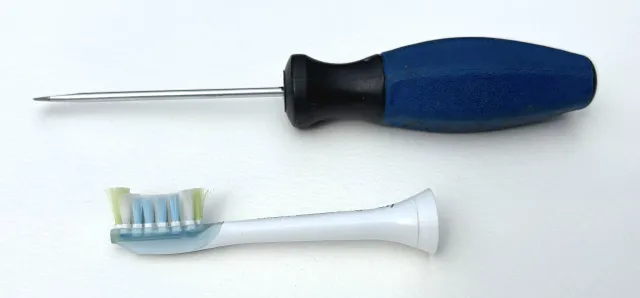
- Tools: A screwdriver, an old toothbrush if needed
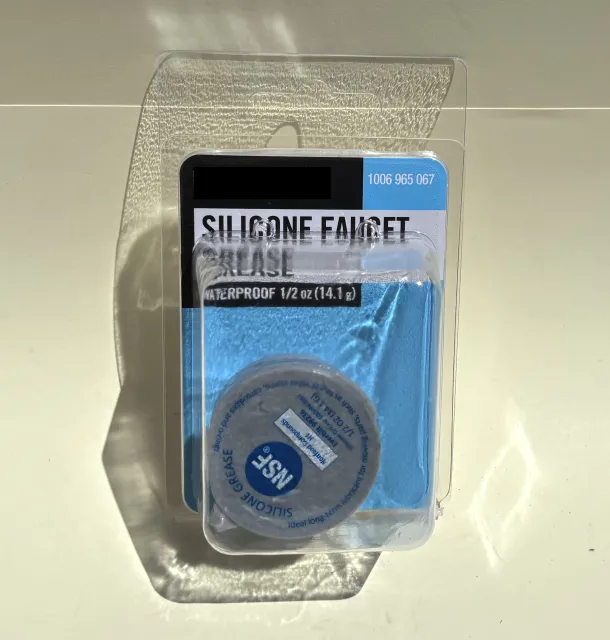
- Supplies: Silicone grease, replacement spring (Silicone grease can be found in the plumbing section. A kit of assorted springs is about $5. Search online for “assorted springs.”)
Steps to replace the spring:
Specific steps will vary depending on the type of nozzle you have. But the general steps for this process are:
- If you haven’t yet, disassemble the nozzle by unscrewing the trigger parts.
- Remove the rusted spring and clean out any of the other trigger parts to remove dirt or mineral deposits. An old toothbrush can remove stubborn deposits. Dry the trigger parts before reassembling.
- Add a small amount of silicon lubricant to the spring.
- Reassemble the nozzle trigger.
- Squeeze the trigger to see if it springs back.
Pro tips for the repair
- Take the spring to your local hardware store to ensure you find the correct replacement.
- Keeping a pack of assorted springs is helpful if you have multiple nozzles.
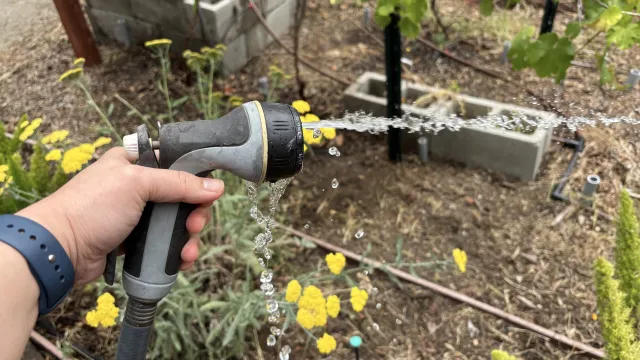
Garden nozzle repair: leaking at the hose connection
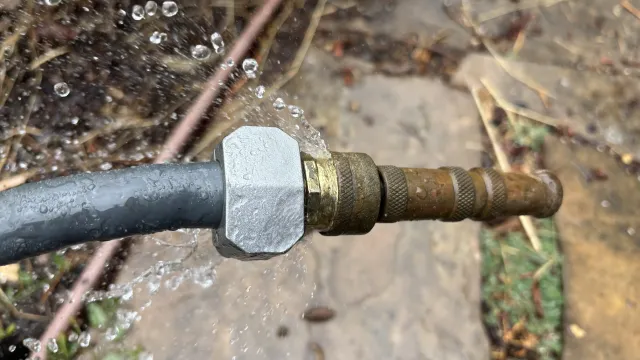
If it’s leaking at the hose connection, this could be due to a loose connection, a worn washer, or cracks in the nozzle body.
Troubleshooting the nozzle
- Inspect the nozzle body for cracks or warping—if you find either, consider replacing it.
- If the nozzle body looks OK, check to see that it’s properly threaded onto the hose. If you’re unsure, unscrew the nozzle from the hose and reattach it. Turn on the water to see if that fixed the leak.
- If it’s still leaking, unscrew the nozzle and inspect the washer on the inside of the nozzle end. If it’s warped, brittle, or cracked, this is typically the cause of the leak and is an easy fix.
How to replace the nozzle washer
- Time: Less than 5 minutes
- Skill level: Beginner
- Tools: A screwdriver or pliers
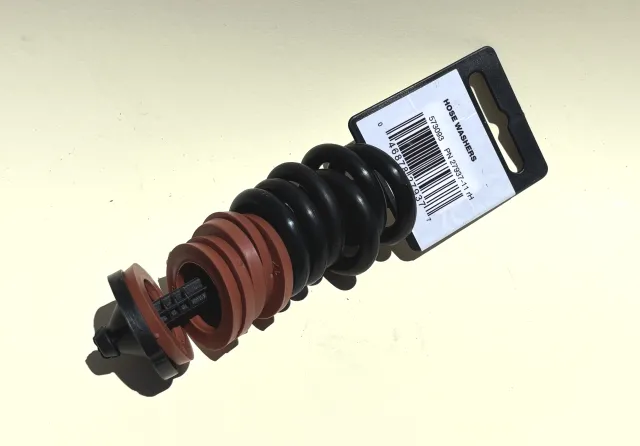
- Supplies: 1 rubber washer (About $5. Search online for “garden hose nozzle rubber washers.”)
Steps to replace the nozzle washer:
- Remove the old washer by either pulling it out with the pliers or prying it out with the screwdriver.
- Replace it with a new washer. Use the screwdriver or the end of the pliers to push the washer in so it’s well-seated inside the nozzle.
- Attach the nozzle to the hose and turn on the water. If done right, then it shouldn’t be leaking.
Garden nozzle repair: leaking at the sprayhead
If it’s leaking around the sprayhead, this could be due to worn-out O-rings or cracks in the nozzle body.
Troubleshooting the nozzle leak
- Inspect the nozzle sprayhead for cracks or warping—if you find either, it’s probably not worth the trouble to fix.
- If the nozzle sprayhead looks OK, it’s possible that the O-rings need replacing.
How to replace the O-rings in the sprayhead
- Time: 15-20 minutes
- Skill level: Advanced
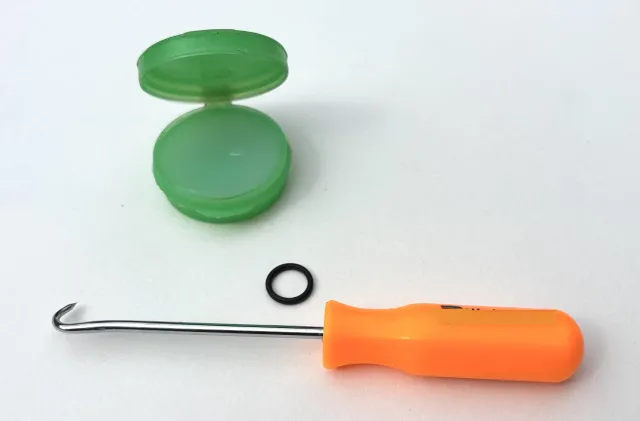
- Tools: A screwdriver, dental tool, or toothpick (optional)
- Supplies: Silicon lubricant, replacement O-rings (You can buy a kit of assorted O-rings for about $5 at your local garden center or online. Search for “small O-rings kit.”)
Steps to replace the O-rings:
Specific steps will vary depending on the type of nozzle. But the general steps for this process are:
- Disassemble the nozzle by unscrewing any of the sprayer parts.
- Remove any of the old O-rings with an O-ring pick. If you don’t have one, you can try any pointed tool that can help pry them off (e.g., a dental tool or toothpick).
- Grease the new O-rings with silicone lubricant before replacing them. You only need to use a little lubricant. This helps provide an effective seal and reduce wear from friction.
- Reassemble the nozzle parts.
- Attach the nozzle to the hose and turn on the water. If done right, then it shouldn’t be leaking.
Pro tips for the repair
- Disassemble the nozzle first to figure out the O-rings you need. You can take the O-rings to your local hardware store to ensure you find the correct replacements.
If you have to replace the nozzle
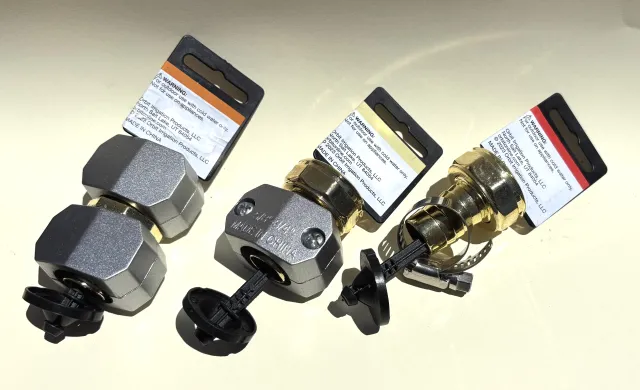
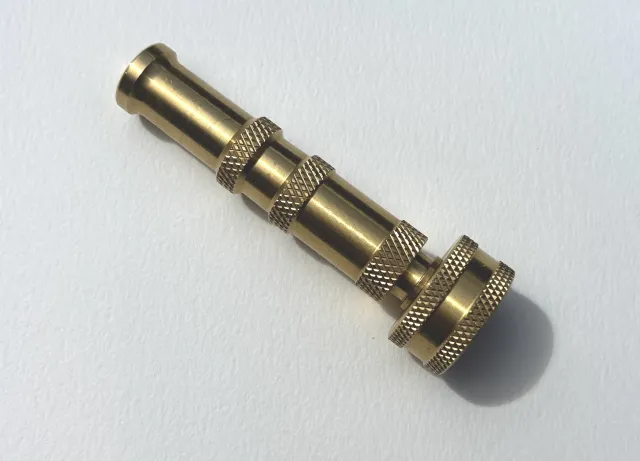
- If you’re looking for a long-lasting, durable nozzle, consider a twist-adjustable brass model. While it costs more upfront, its solid construction and minimal moving parts mean fewer issues over time. These nozzles offer a wide range of adjustable spray patterns, from a gentle mist to a strong jet.
- Some brands will offer a lifetime guarantee, which should be mentioned on their packaging.
- Look for nozzles that you can easily disassemble and repair.
Reusing Drip Irrigation Tubing and Connectors
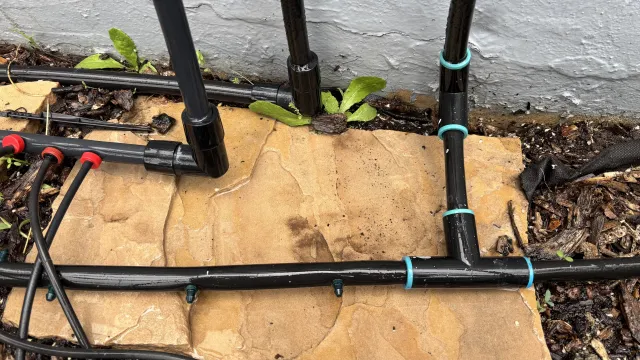
Before buying all new irrigation tubing and connectors, you might be able to reuse them. Here are a few hacks to extend the use of your existing equipment.
Reusing Drip Irrigation Connectors
Push-to-fit connectors might seem like they are single-use. But with some effort, you can remove the old tubing and reuse these connectors.
- Depending on your connector, cut the irrigation tubing off, but leave about ¾” attached to the connector.
- Using pliers, pinch that piece of tubing a few times until it collapses. From there, pull the tubing and wiggle it out of the connector.
- Alternatively, you can dip the connector into hot water for a little bit, then try pulling out the tubing. Be careful because the connector and tubing will be hot!
If you have to replace your connectors, consider the ones you can screw on to tighten.
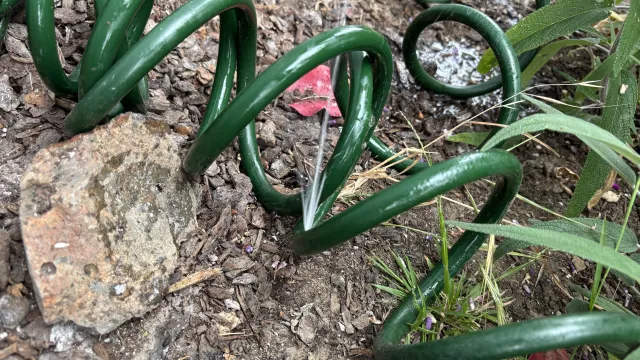
Reusing Drip Irrigation Tubing
You can reuse irrigation tubing that’s still in great condition. Consider using “goof plugs” to patch any unwanted holes. Goof plugs are available at any garden center for a few dollars, or you can purchase them in bulk online. Because of the high water pressure, taping over the holes isn’t a long-term solution.

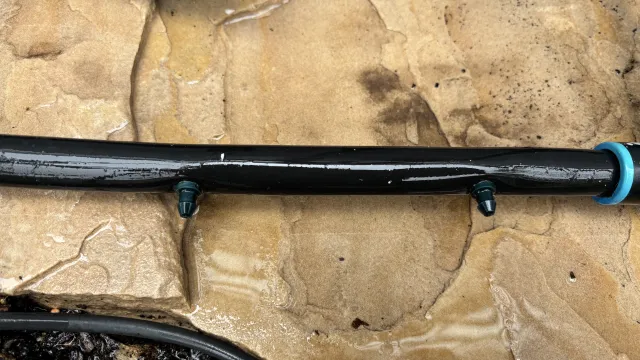
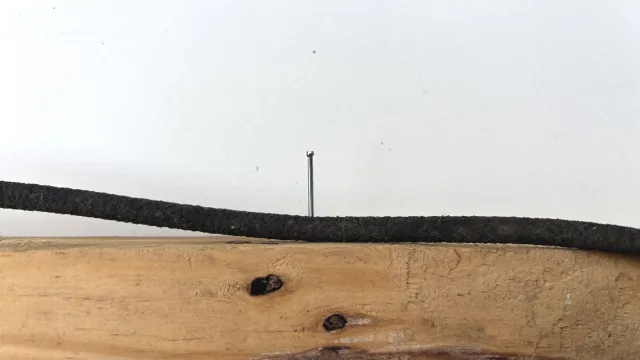
Refurbishing ¼” Soaker Tubing
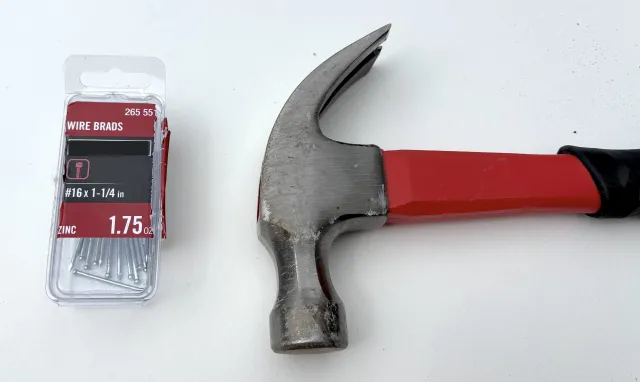
Soaker tubing is a porous tube that emits water and soaks the soil around it. These often work for the first season, but their small pores clog easily, rendering them useless. You can refurbish this style of tubing by poking holes in it with a finishing nail. These holes will be bigger and are less likely to clog.
Extending the life of your equipment
Once you’ve made your repairs or upgrades, a few simple habits can help keep your gear in good shape.
- Keep nozzles and hoses out of direct sunlight. Over time, the UV light can degrade materials, making them brittle or susceptible to cracking.
- Keep nozzles clean to ensure debris doesn’t get lodged in any parts.
- Coil garden hoses loosely to prevent adding kinks or bends.
- Check your irrigation system throughout the growing season, so you can address issues as they arise.
- If you live in a freeze-prone area or it’s the off-season, remove any equipment and store it in a cool, dry, protected location. Drain all the water from them before storing.
Trying some of these repairs
Many of these solutions are beginner-friendly, so we hope you consider trying them if you ever run into issues with your garden hoses, nozzles, or drip irrigation. With a few tools, some supplies, and a little know-how, you can fix these issues, save money, reduce waste, and extend the life of your equipment.
If you have to purchase replacements, consider the more durable recommendations. While they are slightly more expensive, with proper care, they can help you avoid the same issues down the line.
Learn how to maintain and clean your other garden tools in our related guide.
Want to learn more?
This blog post is brought to you by the Help Desk of the UC Master Gardeners of Alameda County. Subscribe to our blog!
Have a gardening question? We'll help.
Visit our Help Desk page to submit your question and see additional ways you can reach us.
Cover photo credit: Michelle Chin, UC Master Gardener.